How to Make an Indoor Event Map: AutoLNK Indoor Venue Maps
To map an indoor automotive event, switch the AutoLNK Venue Map editor to Indoor mode and run its 4 step wizard: anchor your plan to a real building on the map, upload your floor plan (PNG, JPG, or WebP), align it over the building outline, then trace the rooms. AutoLNK Venue Maps is the free, web based map builder inside AutoLNK, and the indoor map publishes straight to the same event page your attendees already use. This guide goes deep on the indoor workflow specifically, for the general editor, outdoor layouts, 3D objects, and icons, see the parent guide on how to create an interactive venue map for a car show.
Why Does an Indoor Car Event Need a Real Map, Not a Flyer?
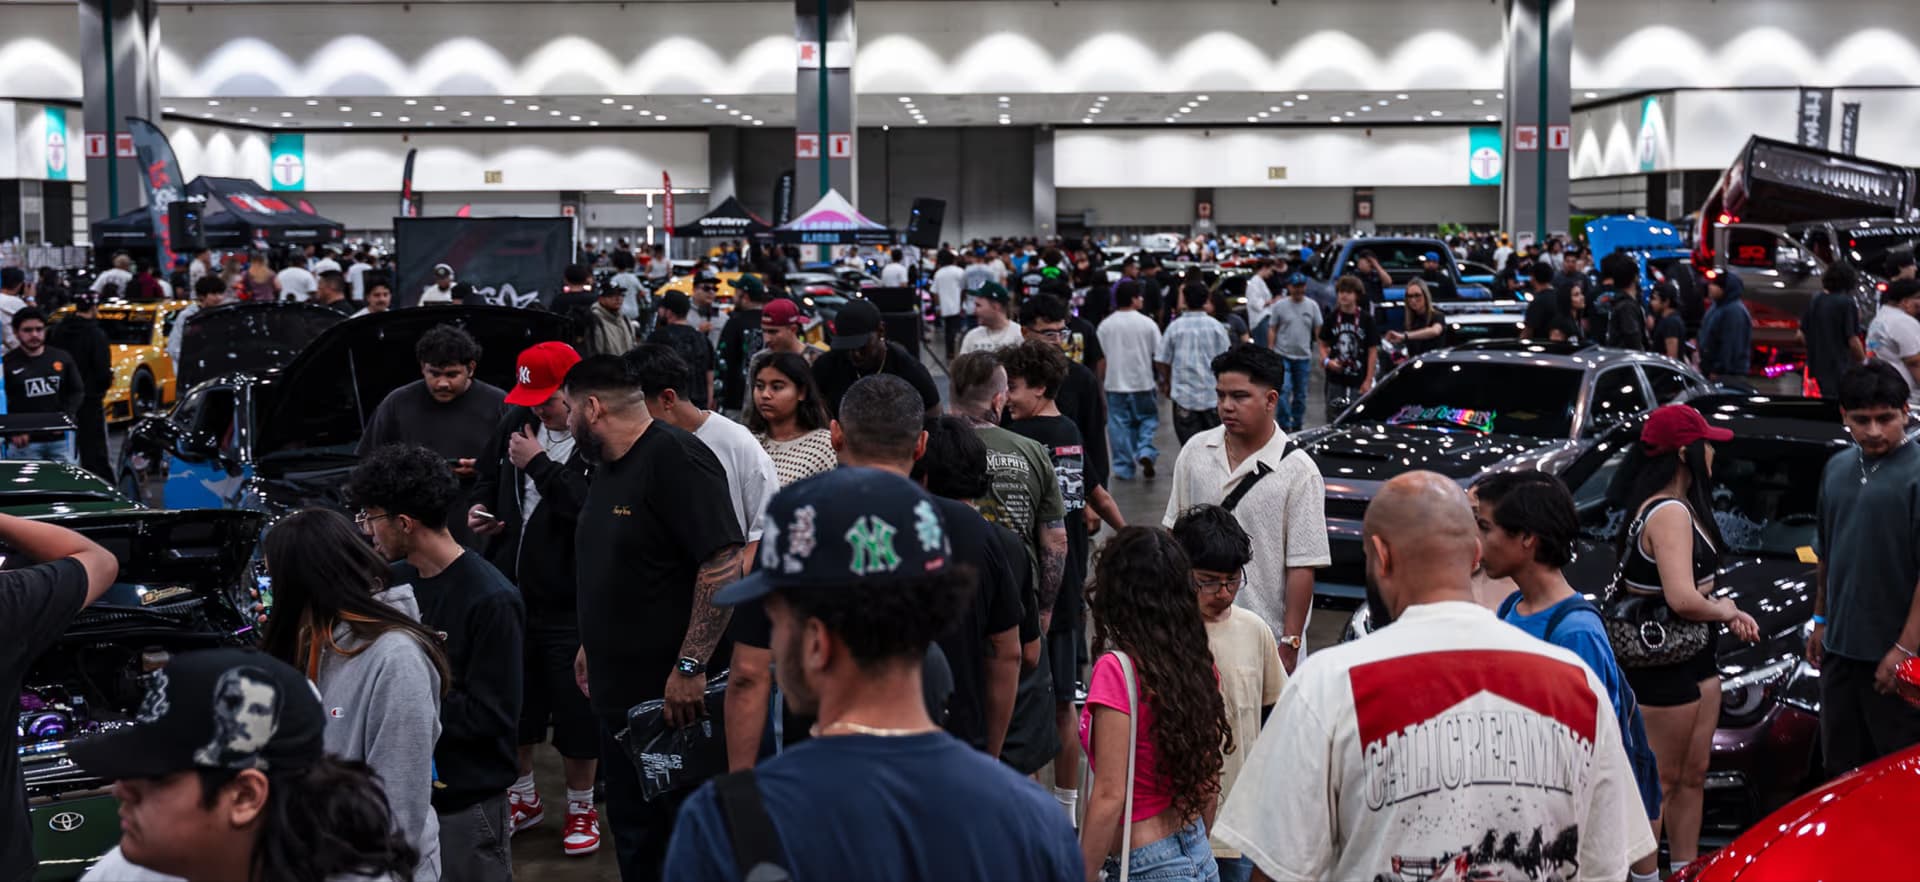
A flat flyer or a JPEG floor plan can show people that there's an expo hall, it can't show them where anything is once they're standing in it. Indoor automotive events have a layout problem that a static image doesn't solve:
- Convention centers and expo halls are big and disorienting. Attendees walk in off the street into a hall full of vendor booths, feature cars, and stages with no obvious sense of direction.
- A flyer isn't tied to the real world. A picture of a floor plan is on its own. It doesn't sit on the actual building on a map, so nobody can connect "the plan" to "the door I just walked through."
- The layout is dense and detailed. Booths, rooms, entrances, and exits are packed into a footprint. A drawing scribbled on a printout gets stale the moment something moves.
- It's the same event page either way. Your attendees already open your AutoLNK event page for tickets and info. An interactive indoor map lives right there, not in a separate PDF nobody downloads.
AutoLNK's Indoor mode fixes the core gap: it pins your floor plan to the actual building on the map and turns it into an interactive layout, instead of a flat image with no relationship to the real venue.
How Do You Switch the Venue Map Editor to Indoor Mode?
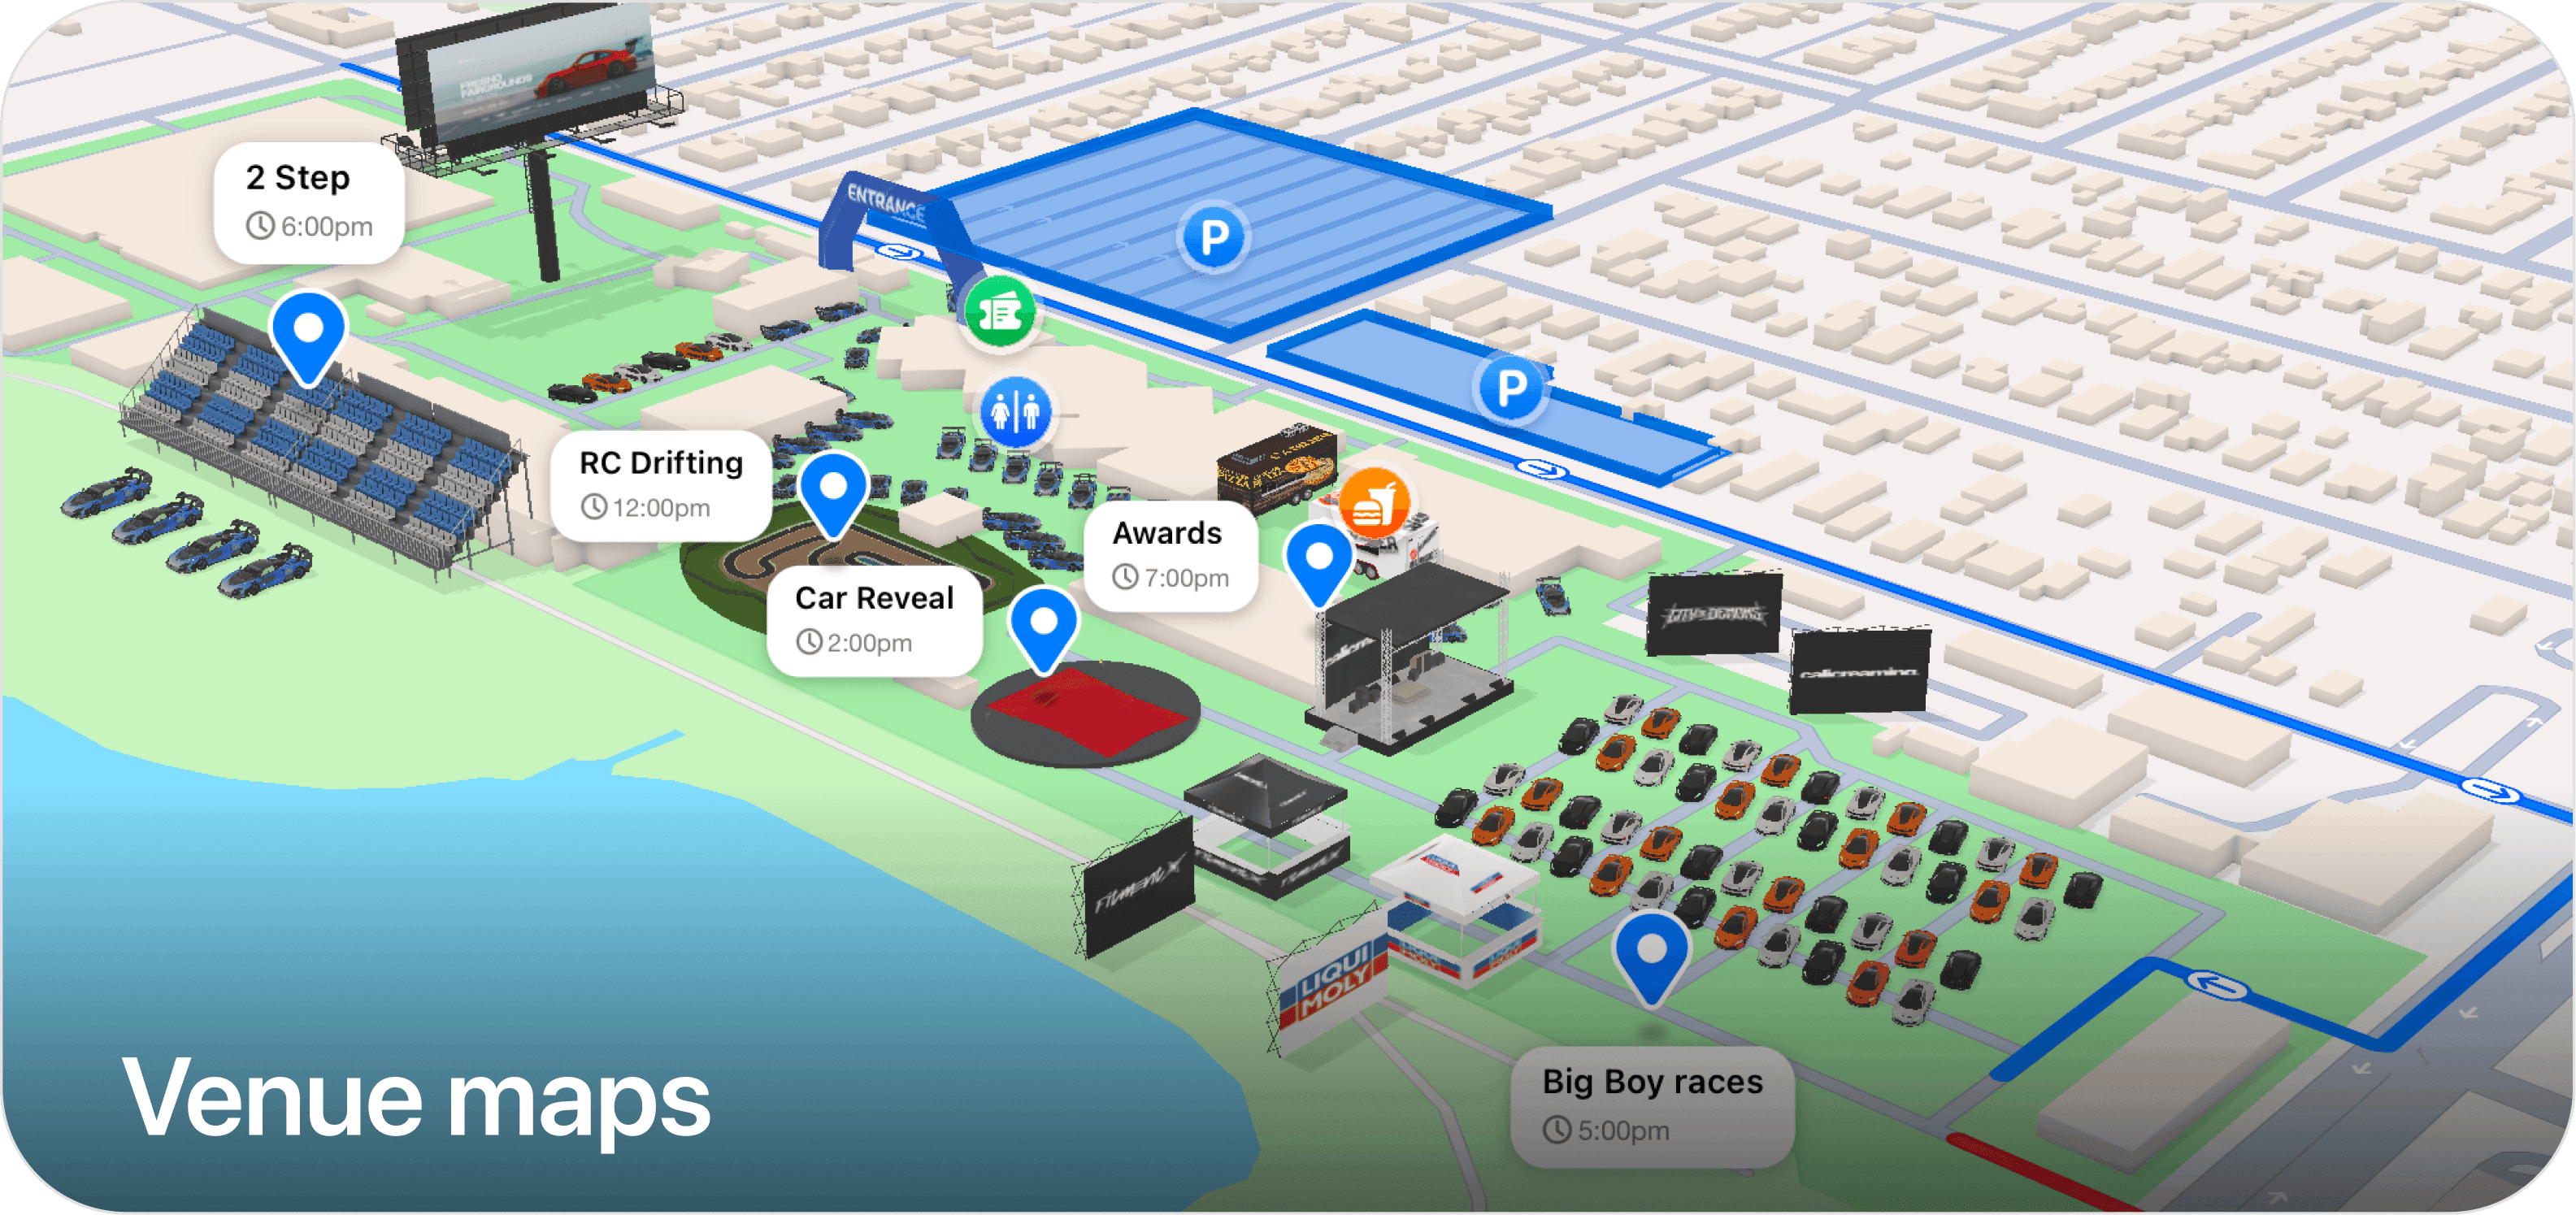
The Venue Map editor has an Outdoor / Indoor toggle. Outdoor mode is what the parent venue map guide covers, parking, staging, vendor rows, and entry layouts across an open site. Flip the toggle to Indoor, and the editor switches into a guided step wizard built specifically for putting a floor plan inside a building. Everything below walks through those four steps in order.
Step 1: How Do You Anchor an Indoor Plan to a Building?
Indoor mode starts by tying your plan to a real place. The first step prompts you to pick a building:
"Click any building on the map to anchor your indoor plan to it."
Click the building on the map where your event is actually happening, the convention center, the expo hall, the arena, the warehouse. The editor anchors your indoor plan to that real building footprint. This is what makes the whole thing more than a picture: from the very first step, your floor plan is locked to the actual venue on the map, not floating in the abstract.
Step 2: How Do You Upload an Indoor Floor Plan?
Once a building is selected, the wizard moves to upload floor plan:
"Upload your floor plan for this building. PNG, JPG, or WebP, we'll fit it to the building outline."
Upload your existing floor plan image. AutoLNK accepts PNG, JPG, or WebP, so the layout your venue already gave you, or one you drew yourself, drops right in. The editor fits the image to the building outline you anchored in Step 1, giving you a starting position to fine-tune in the next step. You don't need to redraw your plan from scratch, you bring the image you already have.
Step 3: How Do You Align a Floor Plan Over the Building?
A floor plan image almost never lands perfectly on the first try, so Step 3 is align floor plan:
"Drag the blue corners to fit your plan over the building, or rotate with the green dot. Click Done when it looks right."
You get direct, hands on controls:
- Drag the blue corners to stretch and size the plan so its walls line up with the real building footprint.
- Rotate with the green dot to spin the plan to the correct orientation, so "north on your plan" matches north on the map.
- Use the opacity slider (for example, 85%) to make the plan semi transparent while you work, so you can see the building underneath and match your plan to it precisely.
When the plan sits cleanly over the building, click Done. This alignment step is what turns a flat upload into a plan that genuinely corresponds to the real venue.
Step 4: What Does "Floor Plan Ready" Mean?
The final wizard step is floor plan ready. The editor confirms your work with:
"Selected building ✓ Aligned."
From here you have a small set of controls to manage the placed plan:
- Adjust: go back into alignment to nudge the corners, rotation, or fit.
- Replace plan: swap in a different floor plan image without starting the whole wizard over.
- Remove floor plan: clear the plan off the building.
- Opacity slide:r keep tuning how strongly the plan shows against the map.
At this point your floor plan is anchored, aligned, and live on the building. Now you make it interactive by tracing the rooms.
How Do the Trace Rooms Tools Work?
Once your plan is aligned, the Trace Rooms tools turn the flat floor plan image into actual mapped spaces, rooms, halls, and openings the map understands as shapes rather than pixels. The toolset:
- Detect room: auto trace a room from the floor plan, so the editor outlines a space for you instead of you drawing every wall by hand.
- Add opening: place a doorway, marking where people pass from one space to the next.
- Close opening: re add a wall where you don't want a gap, sealing an opening back up.
- Delete room: remove a room you traced by mistake or no longer need.
- Merge rooms: combine two traced rooms into one, handy when your plan splits a single open expo floor into pieces.
- Fill gaps (expand): expand a traced room to close small gaps so the space reads as one clean room.
Together these let you turn a raw floor plan image into a clean, mapped indoor layout, defined rooms, real doorways, and a hall that matches how people actually move through the building.
What Indoor Automotive Events Is This For?
Indoor mode fits any automotive event that happens under a roof, or the indoor portion of one that's part indoor, part outdoor:
- Indoor car shows: held in a hall or arena, where feature cars and displays are arranged across a floor.
- Convention center automotive events:, where a big footprint needs a real map so attendees aren't lost.
- Expo halls and expo floors: packed with vendor booths and displays.
- Arena events: moving cars and crowds through a defined indoor space.
- Mixed indoor/outdoor events: map the outdoor side with the standard outdoor tools and use Indoor mode for the vendor hall or expo floor inside.
Where Does the Finished Indoor Map Go?
The indoor map publishes to the same event page your attendees already use for that event, the page they open for tickets and details. There's nothing extra for them to download and no separate app: the venue map is part of the event page, and attendees can view it right there. AutoLNK Venue Maps is free and web based, like the rest of the platform.
FAQ
How do I make an indoor map for a car show? Open the AutoLNK Venue Map editor, switch the Outdoor/Indoor toggle to Indoor, and follow the 4-step wizard: pick the building on the map, upload your floor plan (PNG, JPG, or WebP), align it over the building with the corner handles and rotation dot, then use the Trace Rooms tools to outline rooms and openings.
Can I turn a floor plan into an interactive event map? Yes. That's exactly what Indoor mode does, you upload your floor-plan image and the editor fits it to the building, you align it, and the Trace Rooms tools turn the flat plan into mapped rooms and doorways on your live event page.
What image formats can I upload for a floor plan? PNG, JPG, or WebP. The editor fits the image to the building outline you anchored, and you fine tune the fit by dragging the corners and rotating.
How do I line my floor plan up with the actual building? In the align step, drag the blue corners to size and position the plan, rotate it with the green dot, and use the opacity slider (e.g., 85%) to make the plan see through so you can match it against the real building underneath. Click Done when it looks right.
What are the Trace Rooms tools? A set of tools you use after the plan is aligned: Detect room (auto trace a room), Add opening (a doorway), Close opening (re add a wall), Delete room, Merge rooms, and Fill gaps (expand). They turn the flat floor plan image into defined, mapped rooms and openings.
Does this work for a convention center or expo hall? Yes. Indoor mode is built for indoor car shows, convention center events, expo halls, arena events, and the indoor vendo hall or expo floor portion of mixed indoor/outdoor events.
Is the indoor venue map free? Yes. AutoLNK Venue Maps is free and web based, part of AutoLNK's free all in one automotive event platform (iOS, Android, and web) for finding, hosting, ticketing, and running car meets, shows, Cars & Coffee, cruises, track days, and rallies. AutoLNK
Where do attendees see the indoor map? On the same event page they already use for that event. The indoor map publishes right to it, no separate download, and attendees can view the map there.
Ready to map your indoor event? New to AutoLNK Venue Maps? Start with the interactive venue map guide, then open the editor and flip the Outdoor/Indoor toggle to Indoor to run the 4-step wizard.